What is Proxmox?
Proxmox is an open-source server management platform. It integrates a KVM Hypervisor and Linux Containers (LXC), network functionality and software-defined storage. Proxmox can be installed on a main server and configured on another computer using a web-based user interface.
Prerequisites
- Dedicated Server
- Intel or AMD 64Bit CPU
- 8GB of memory
- SSD or HD
- USB Storage Device for Installer
Downloading the Proxmox ISO Image
1. Navigate to the Proxmox website (https://www.proxmox.com/en/) and click on Downloads.
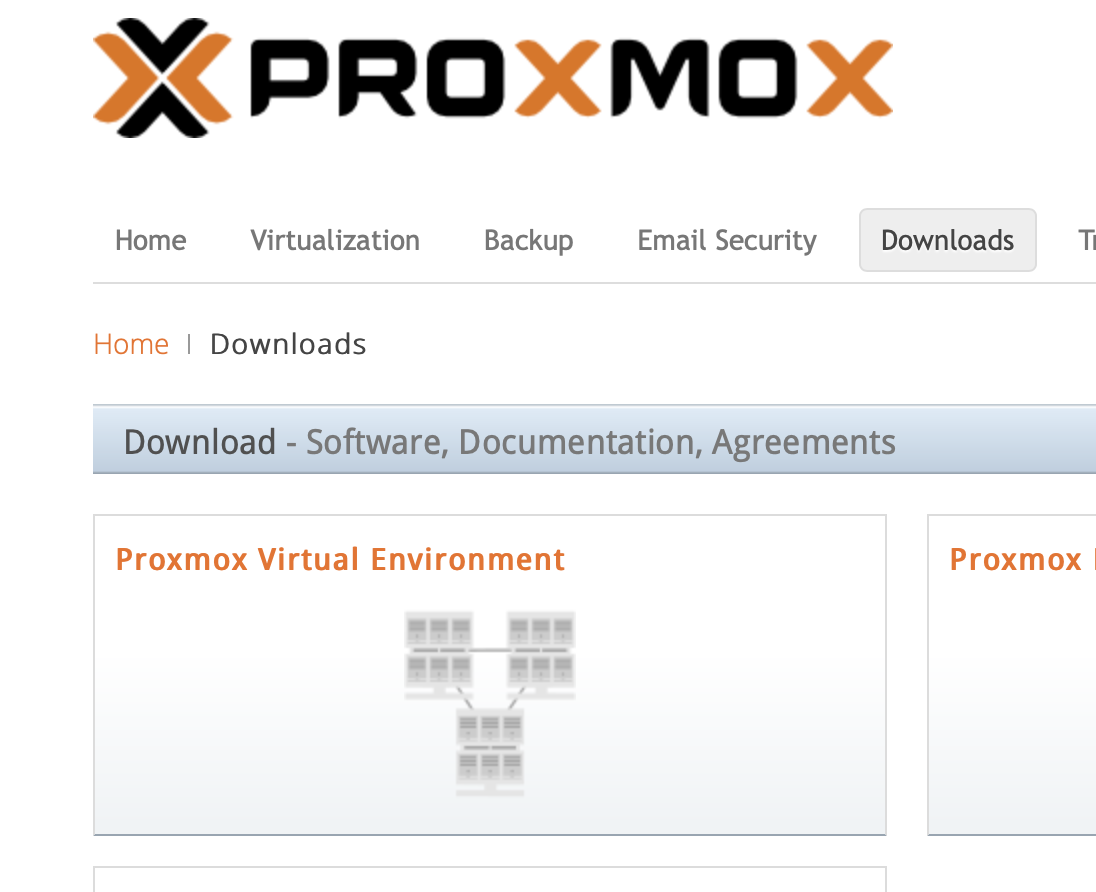
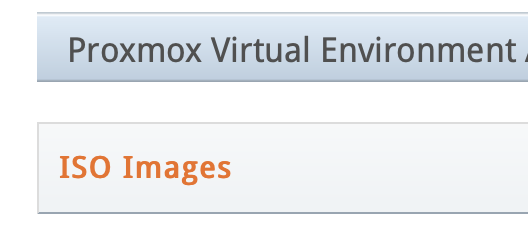
2. Click the Proxmox Virtual Environment
3. Click ISO Images
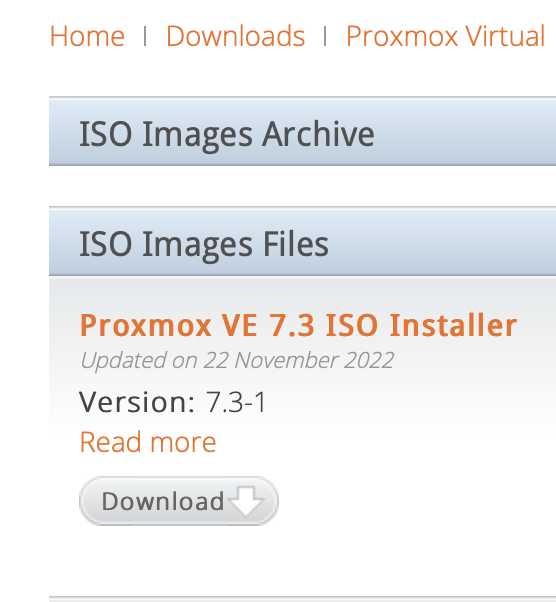
4. Click download on the most recent Proxmox VE ISO
Create a Bootable USB Drive
I came across a pretty neat tool called Ventoy. Ventoy is a free open source software that allows you to create a bootable USB for ISO, IMG, EFI, WIM and VHD(x) files. The best part about Ventoy is that you just copy the OS file to the drive and you can boot any of the OS’s on it.
Use Ventoy to create a bootable USB
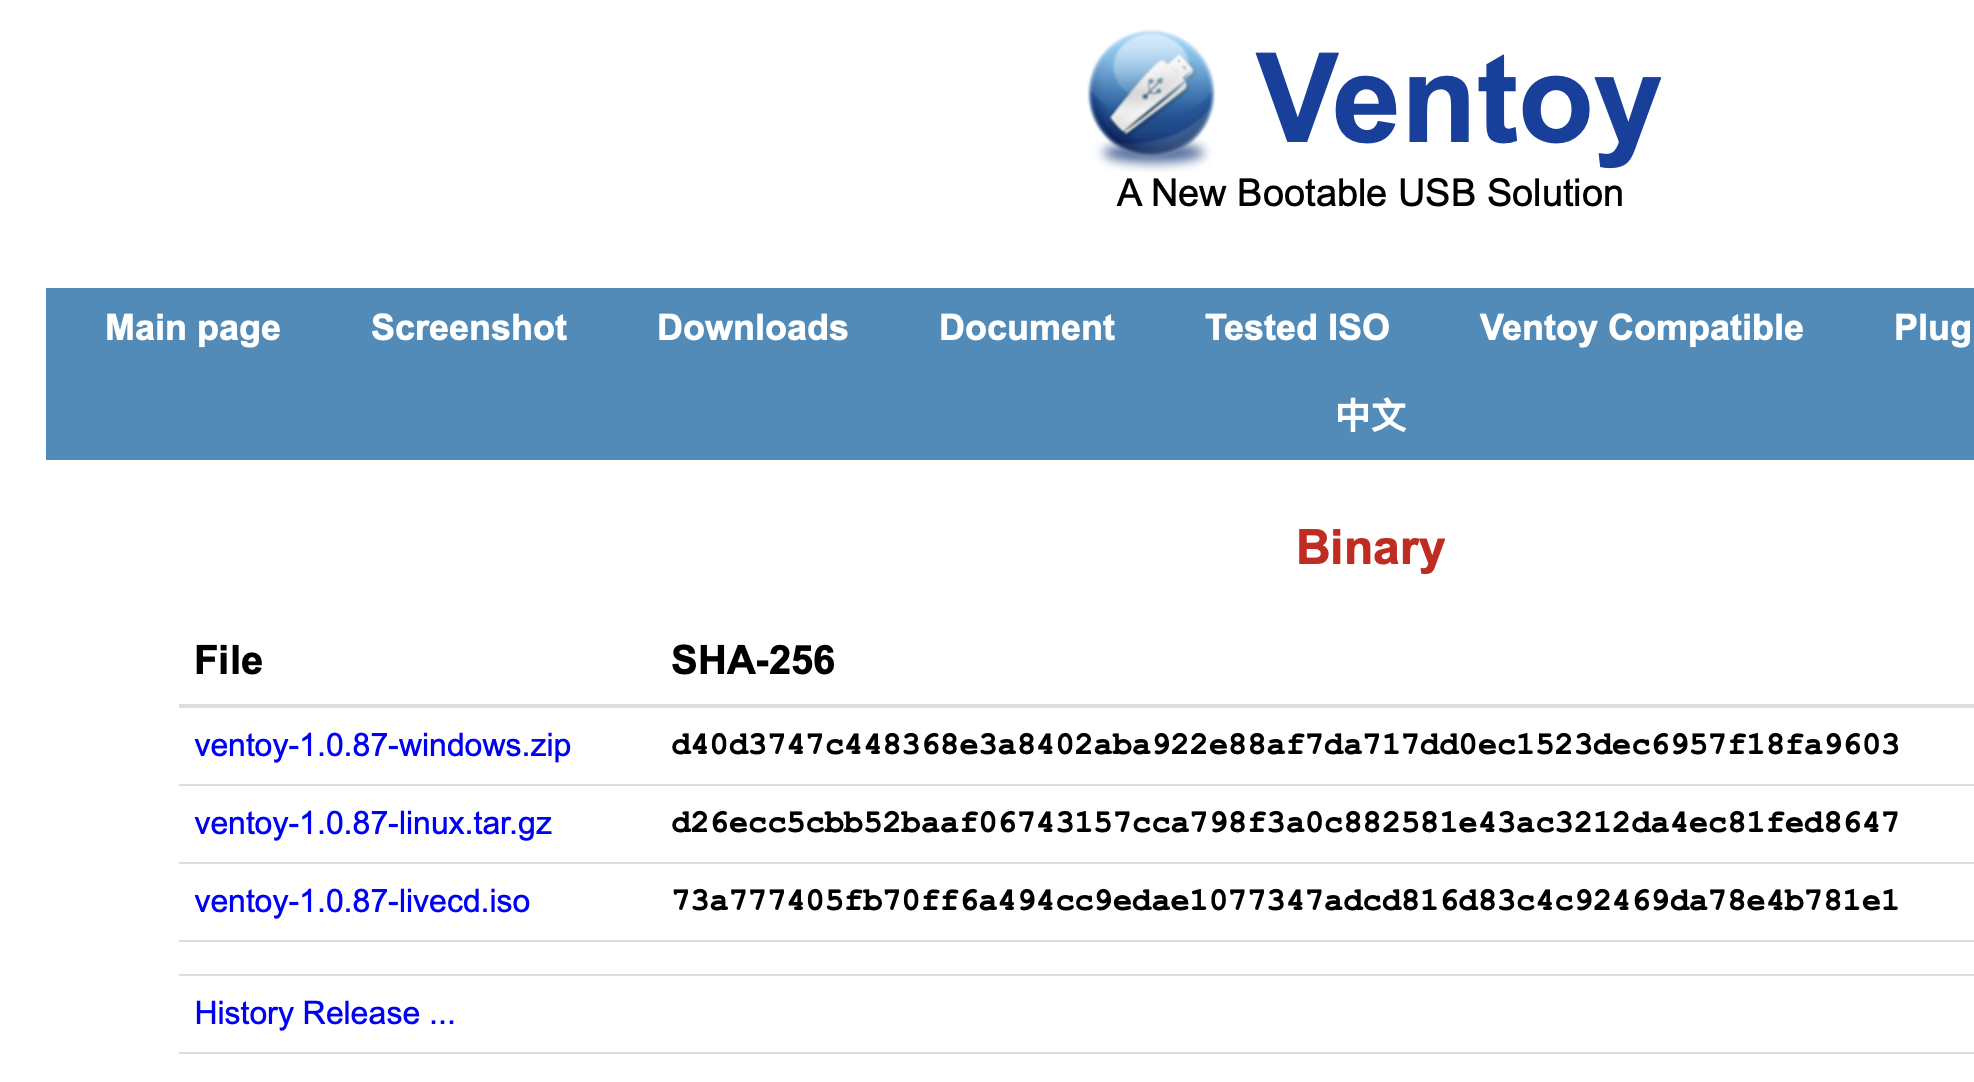
1. Go to https://www.ventoy.net/en/download.html and download the Ventoy zip/tar for Windows or Linux
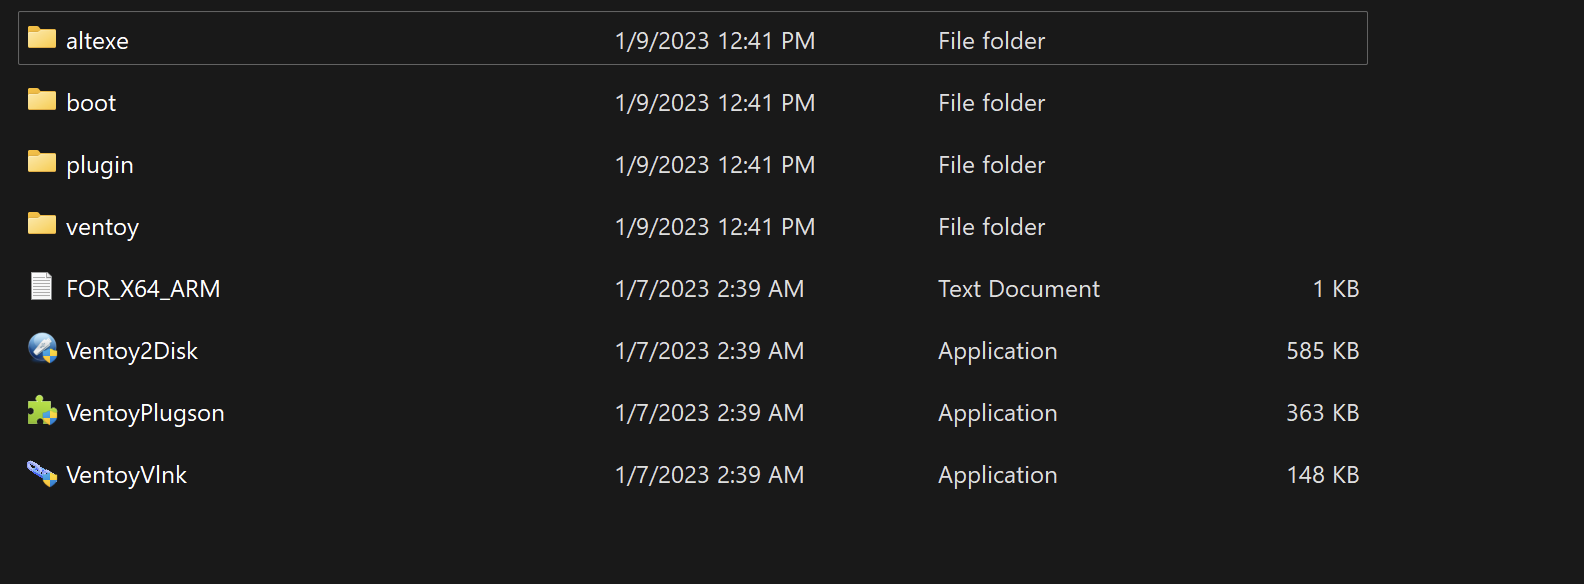
2. Extract the file
3. Insert a USB into the computer
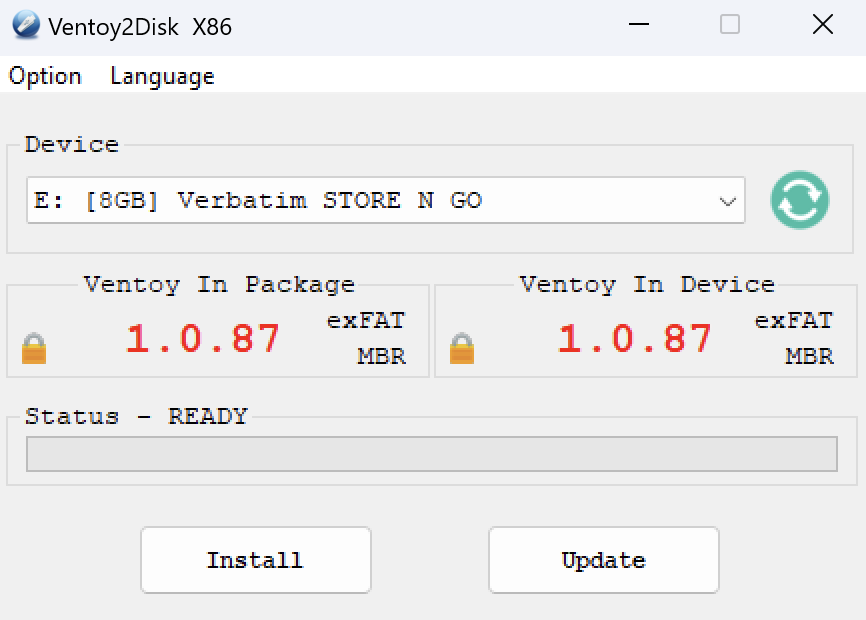
4. Open Ventoy2Disk
5. If the USB doesn’t appear click the refresh button
6. Click Install. If you already have Ventoy installed, you can also update it by clicking the Update button.
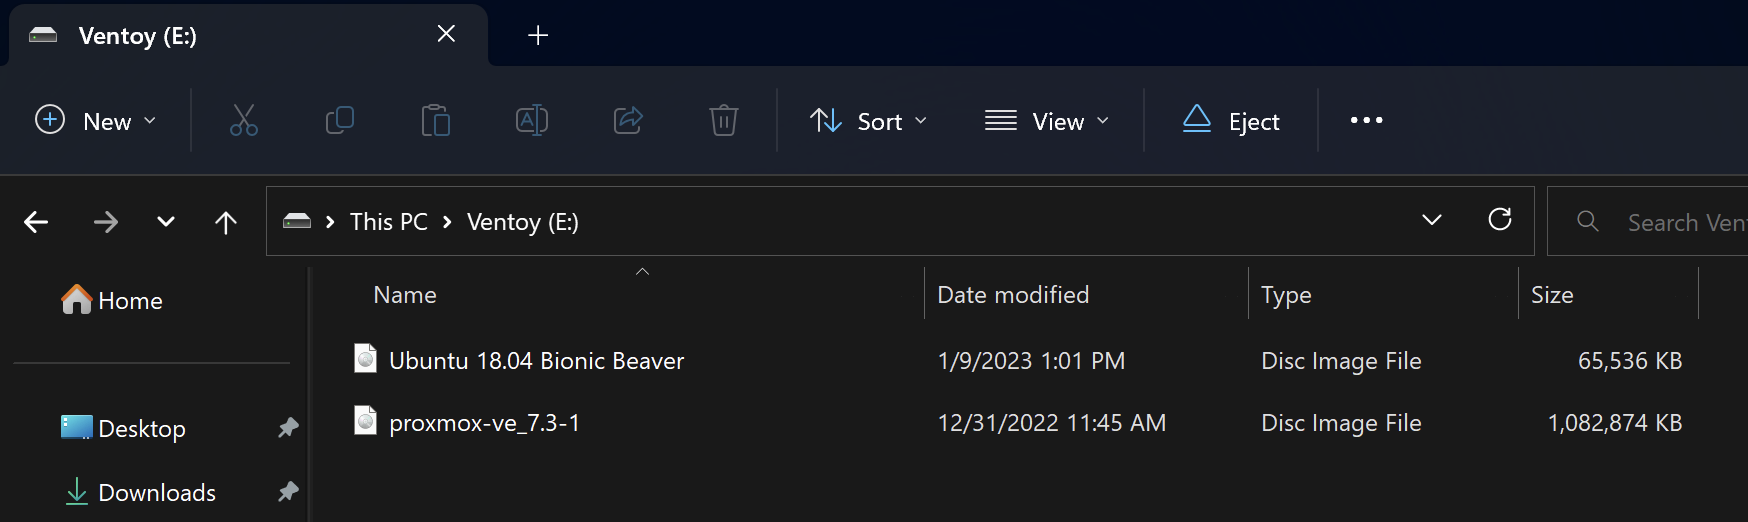
7. Once completed, drag and drop any ISO, IMG, EFI, WIM and VHD(x) files into the Ventoy drive
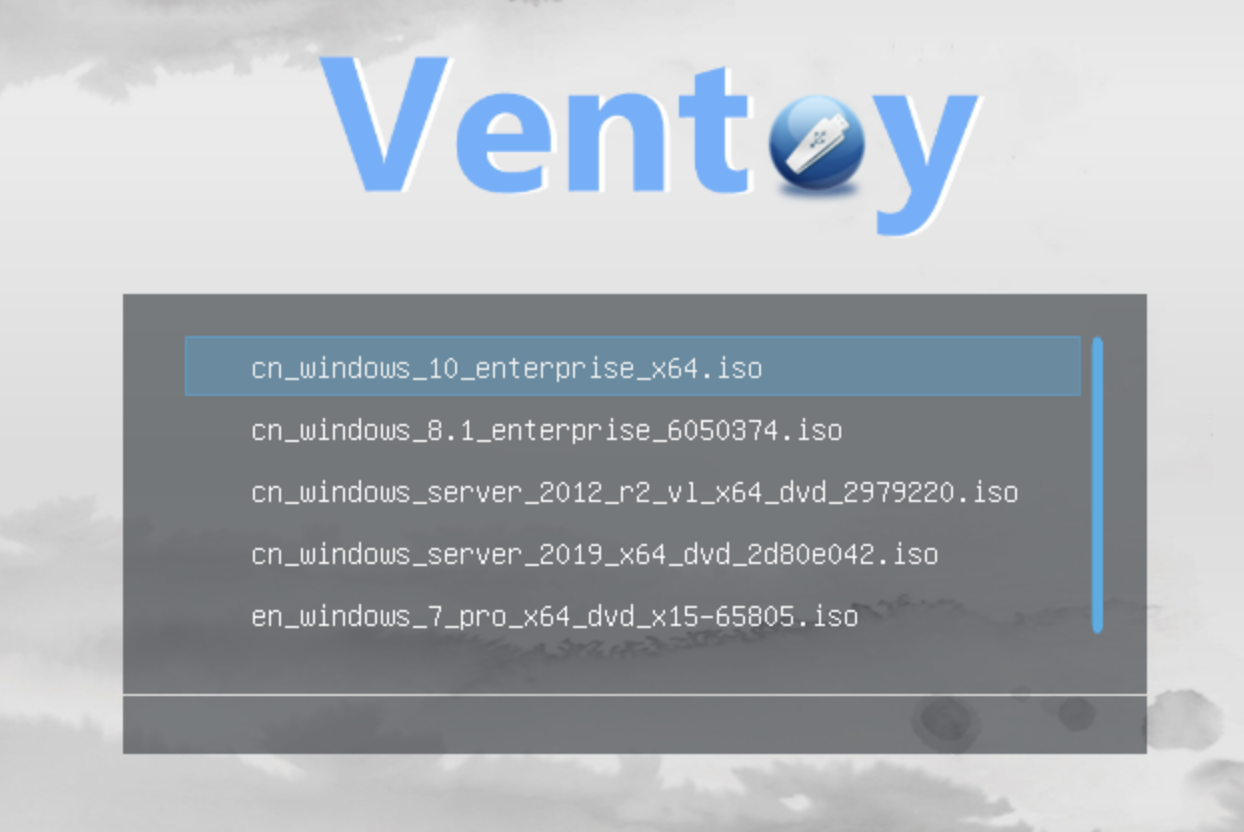
8. Reboot your PC and boot into Ventoy
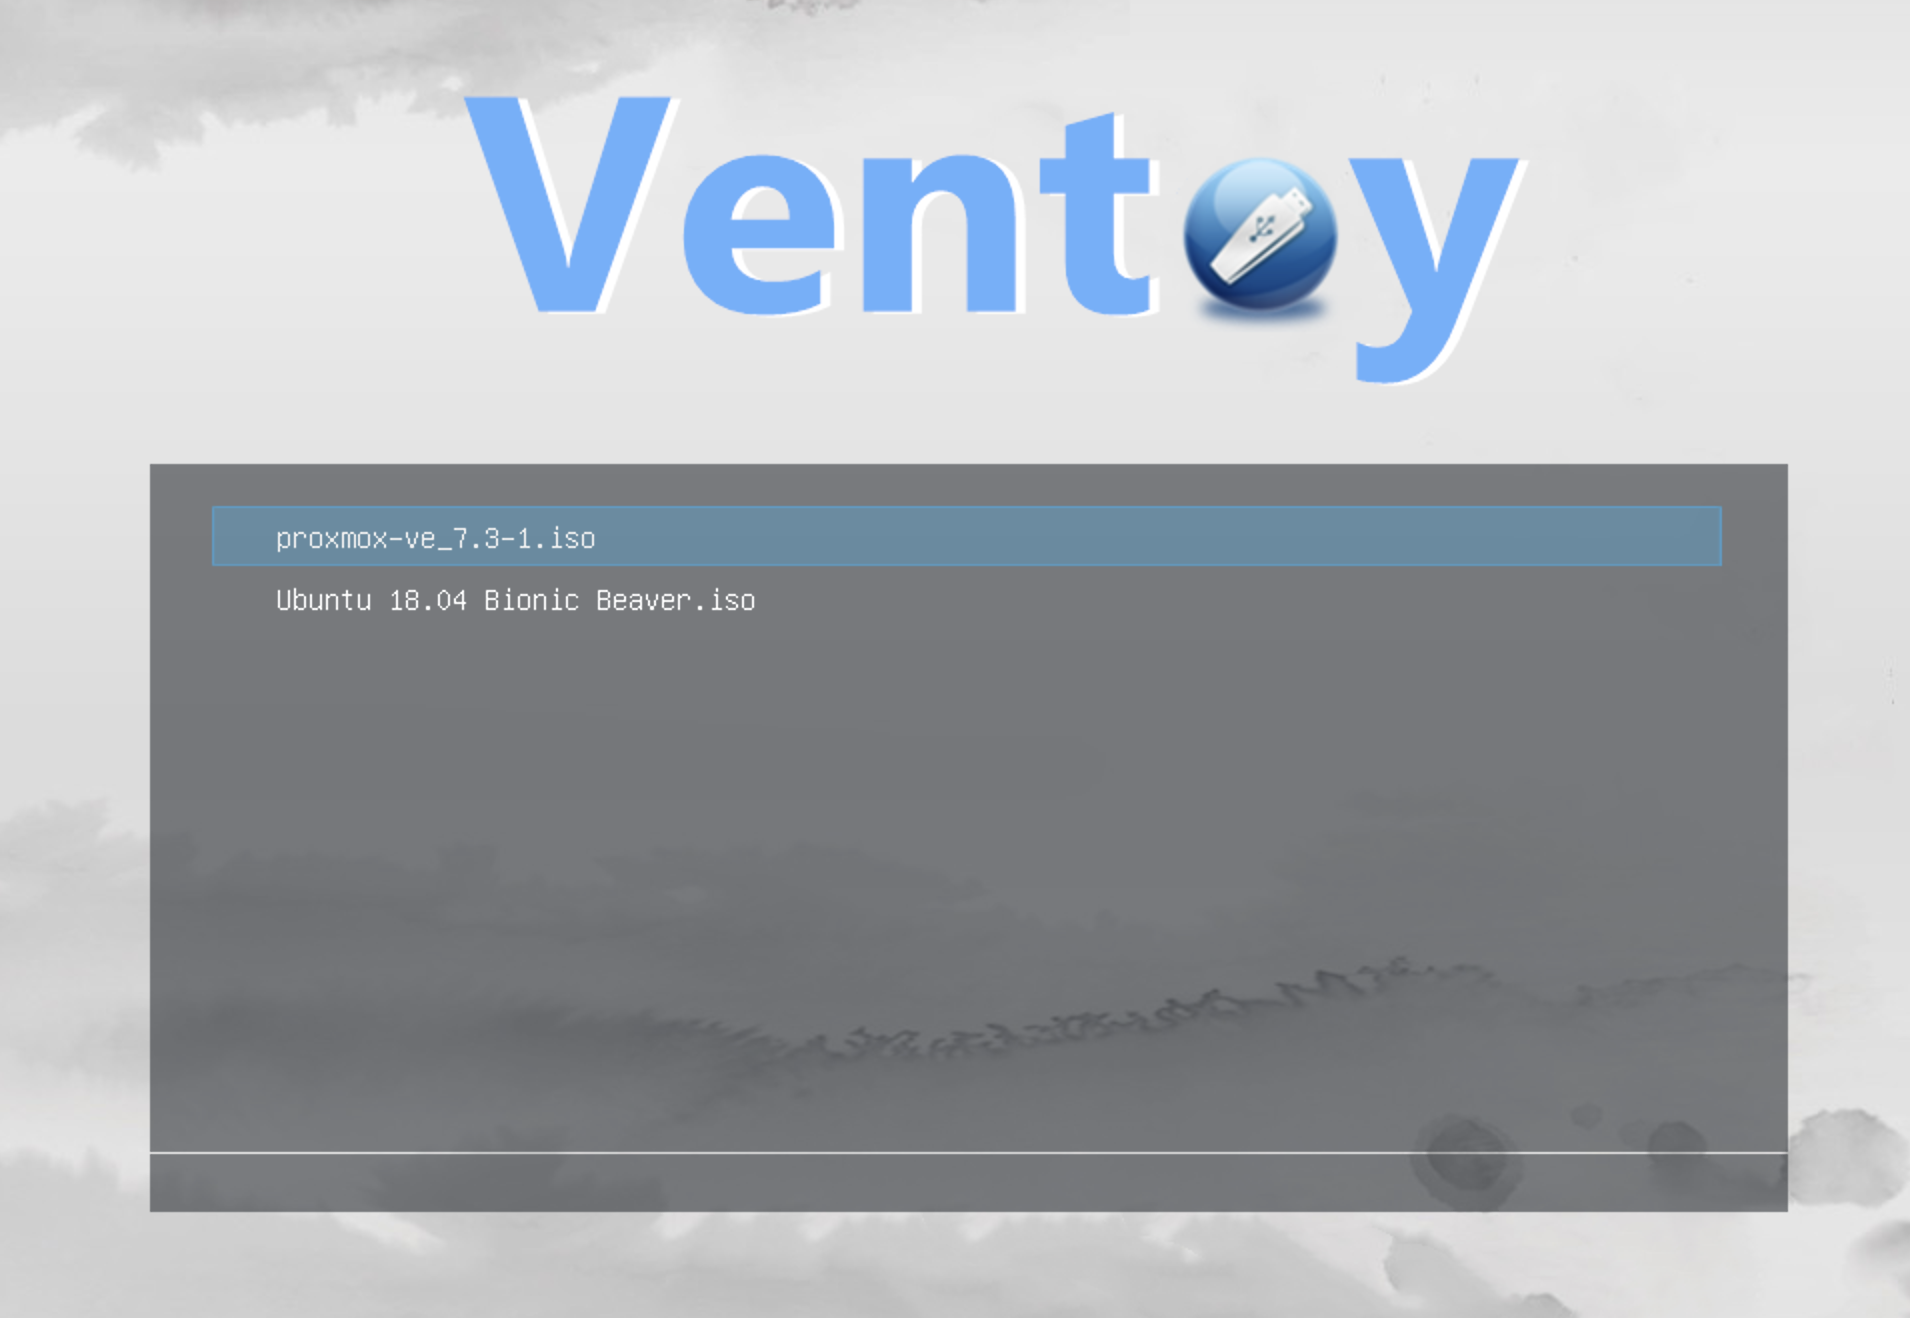
Installing Proxmox VE
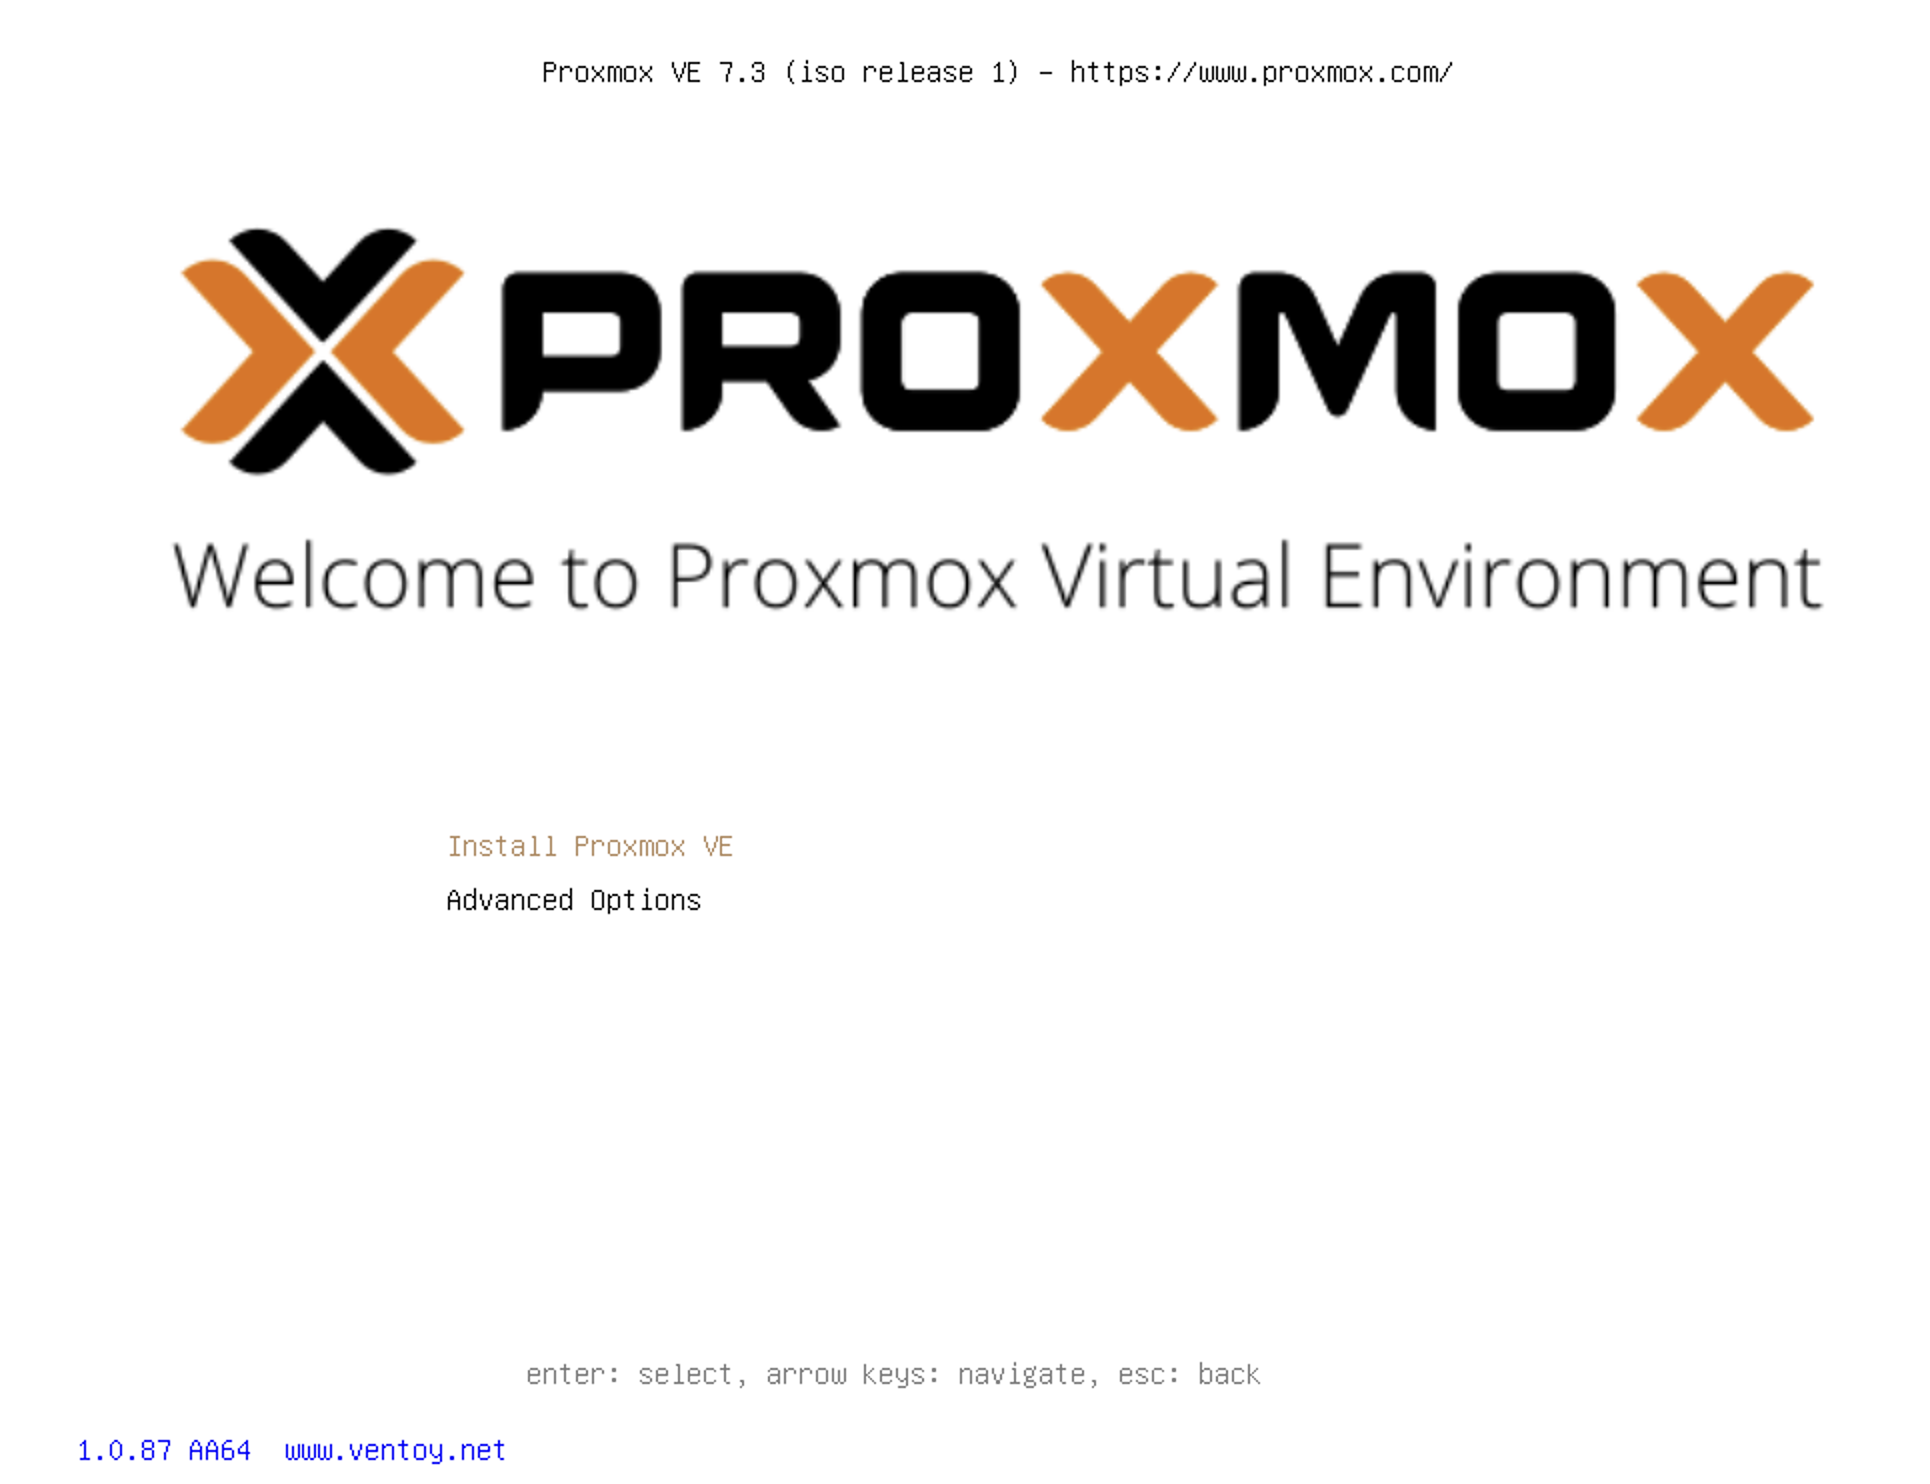
1. Use your keyboard to select Install Proxmox VE
2. Accept the EULA
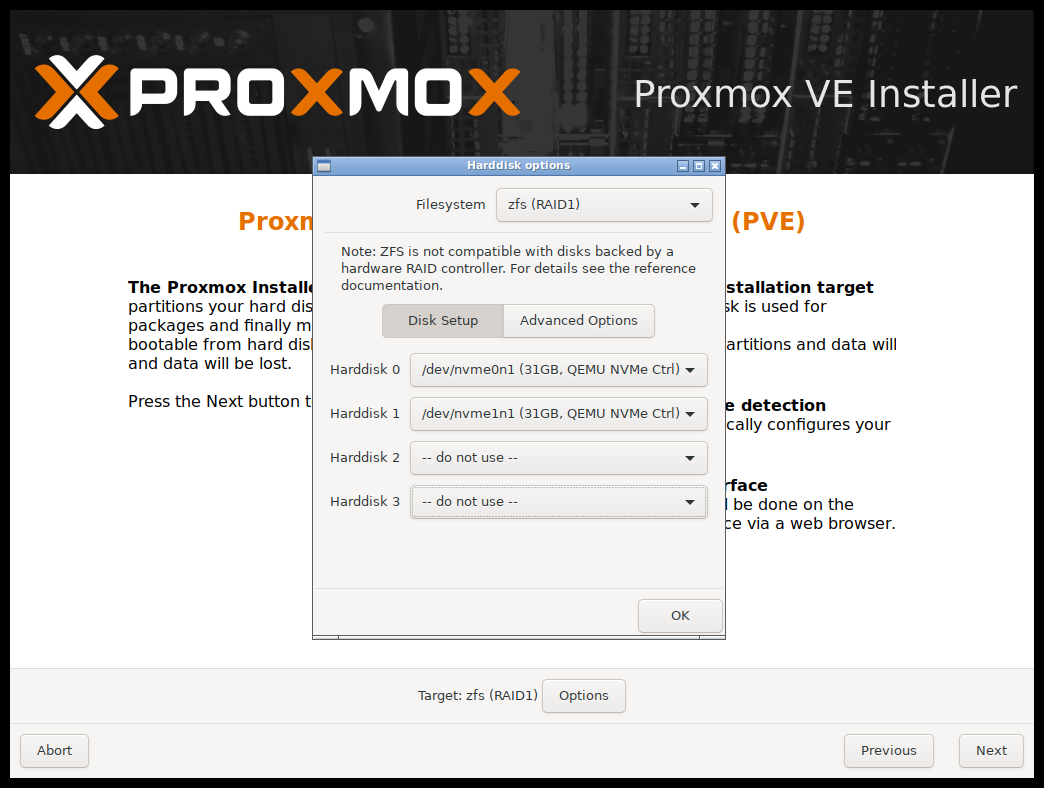
3. Choose the disk to install Proxmox. Make sure your disk is GPT!
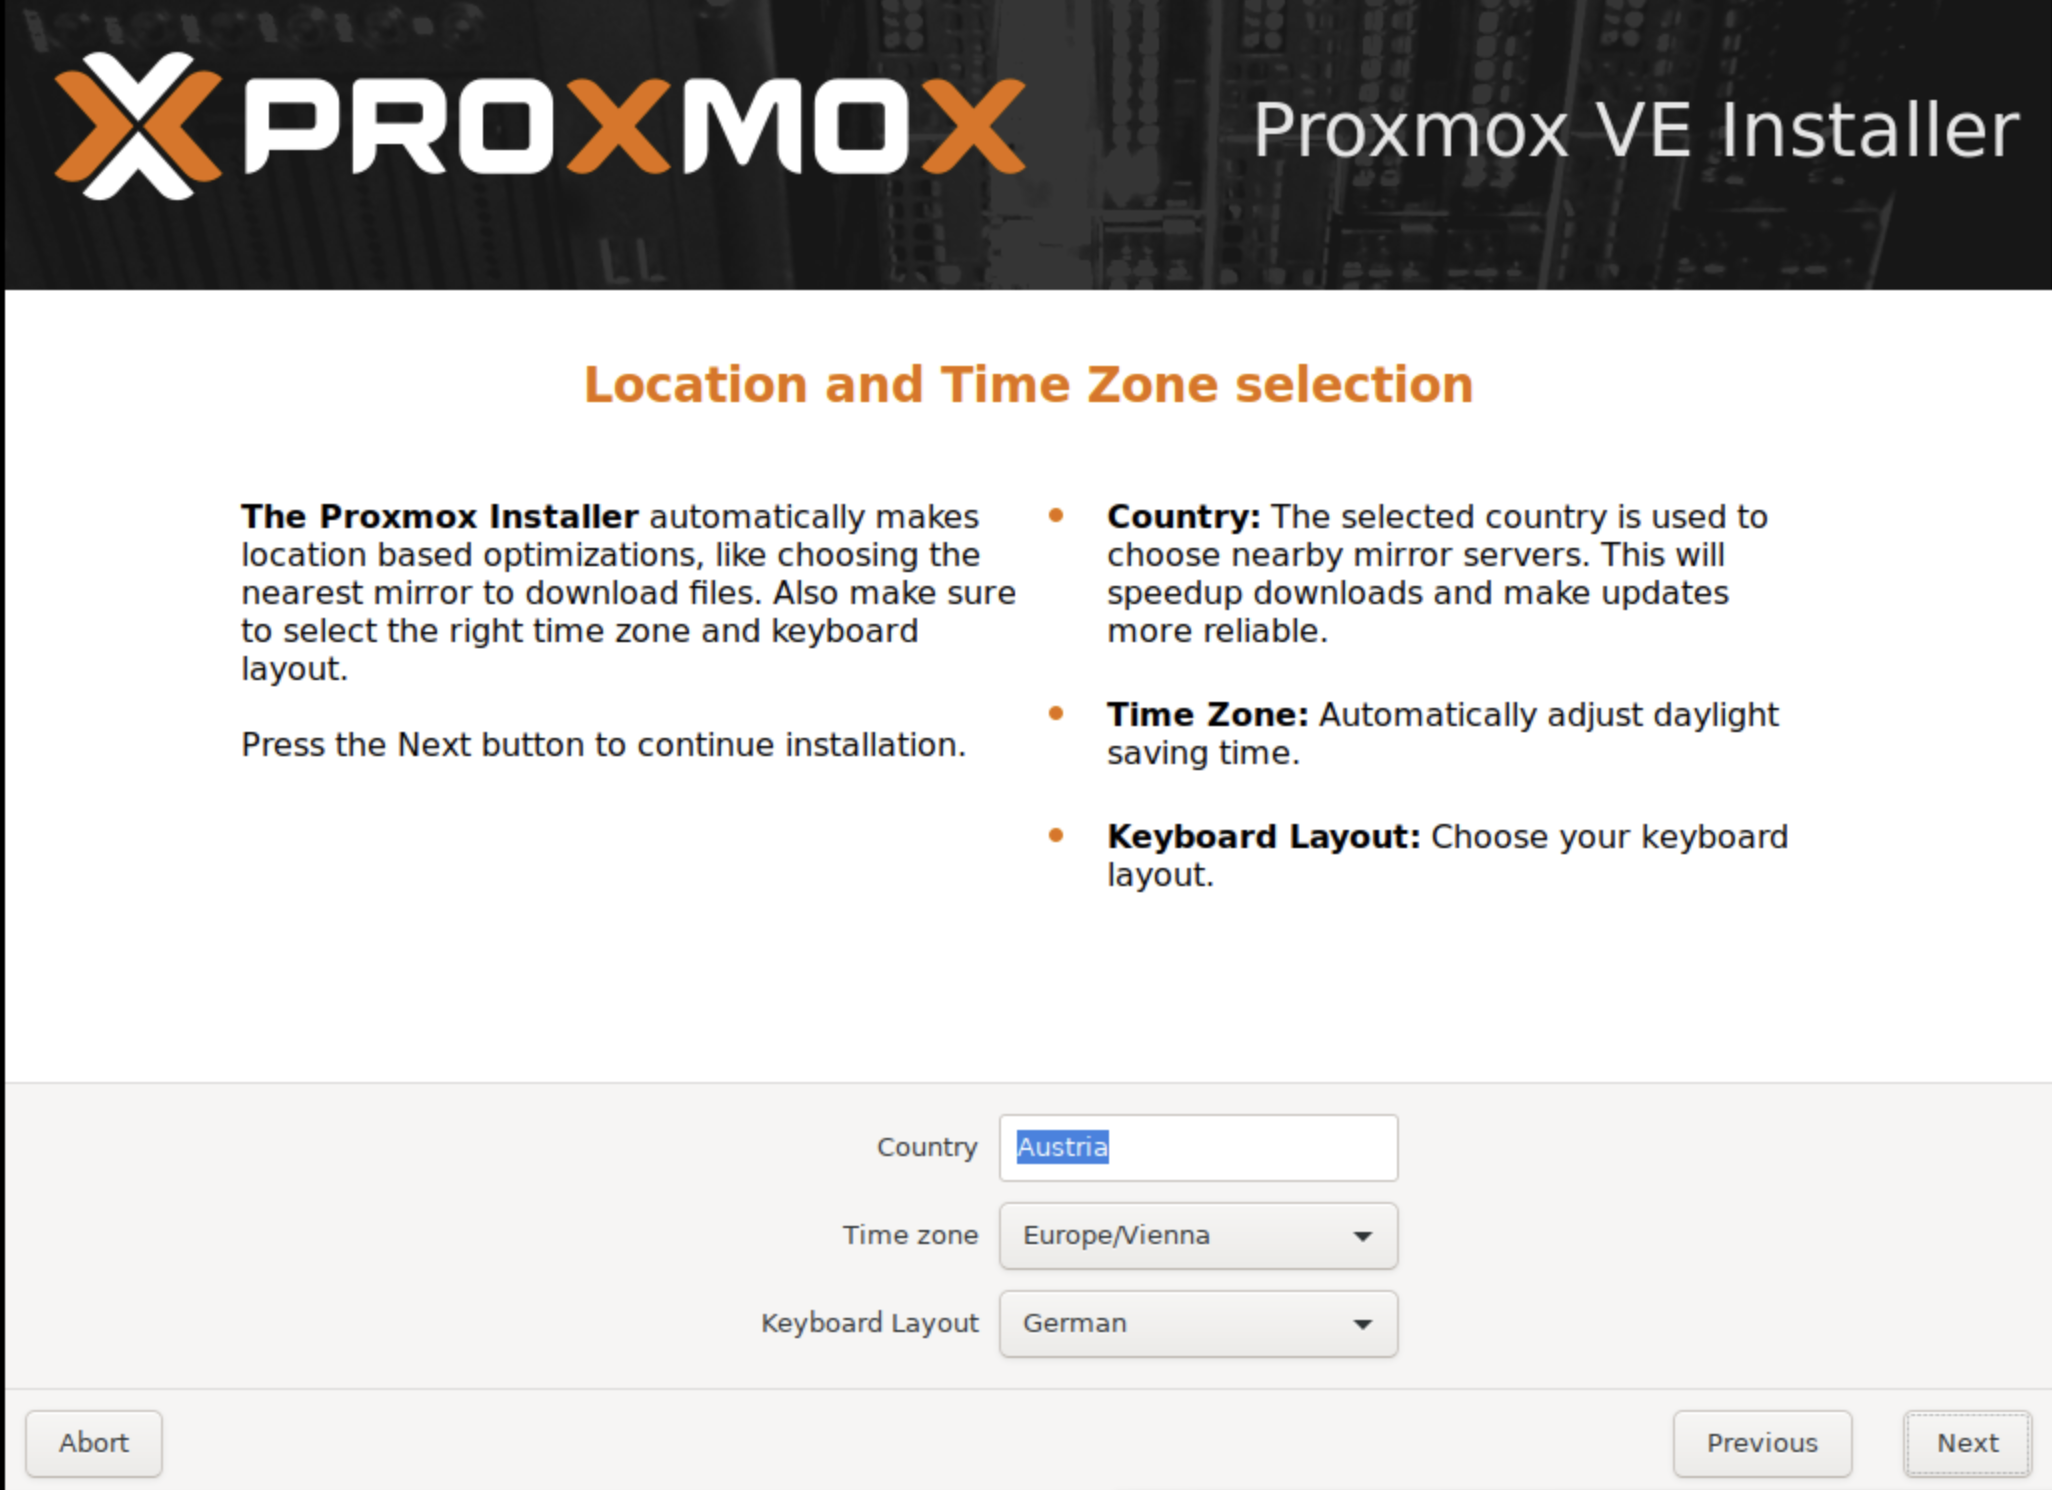
4. Set the Country, TimeZone and Keyboard Layout
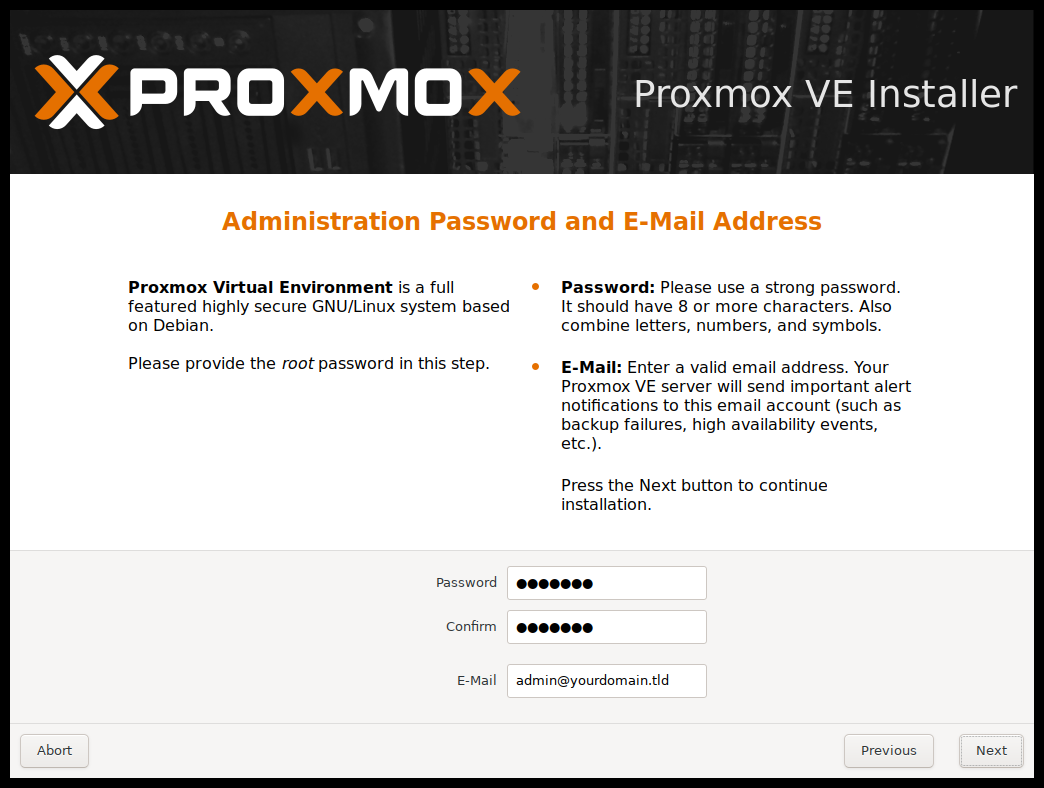
5. Create a strong Admin password and enter your email
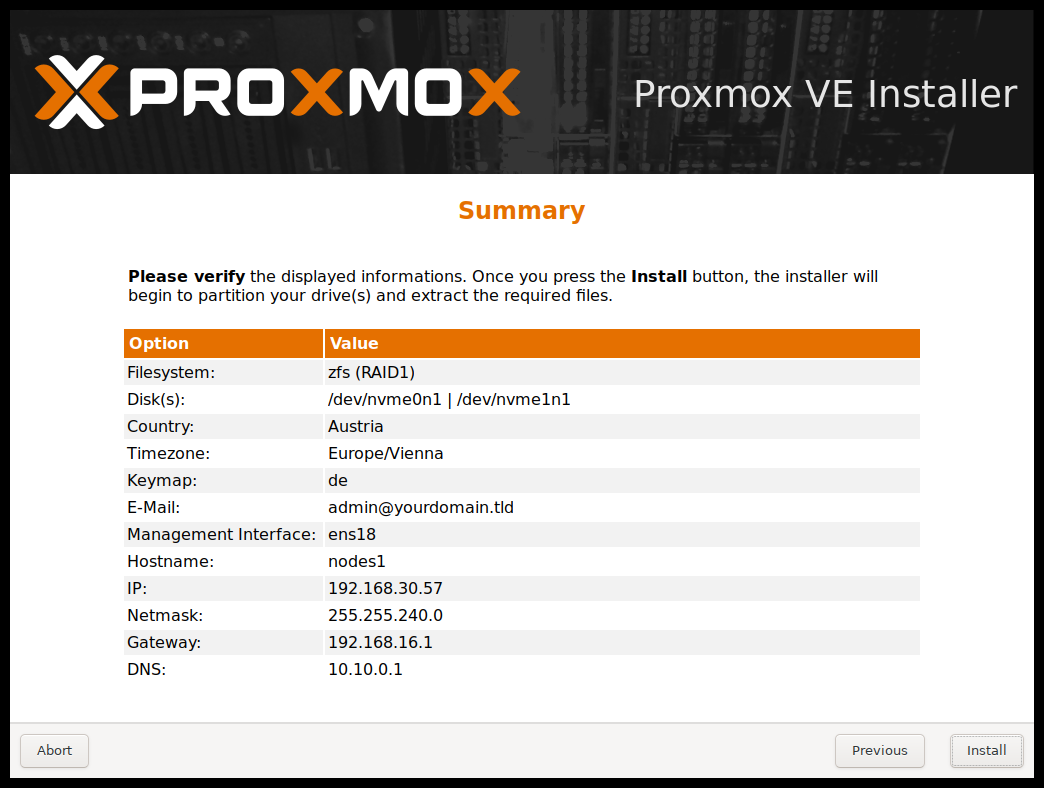
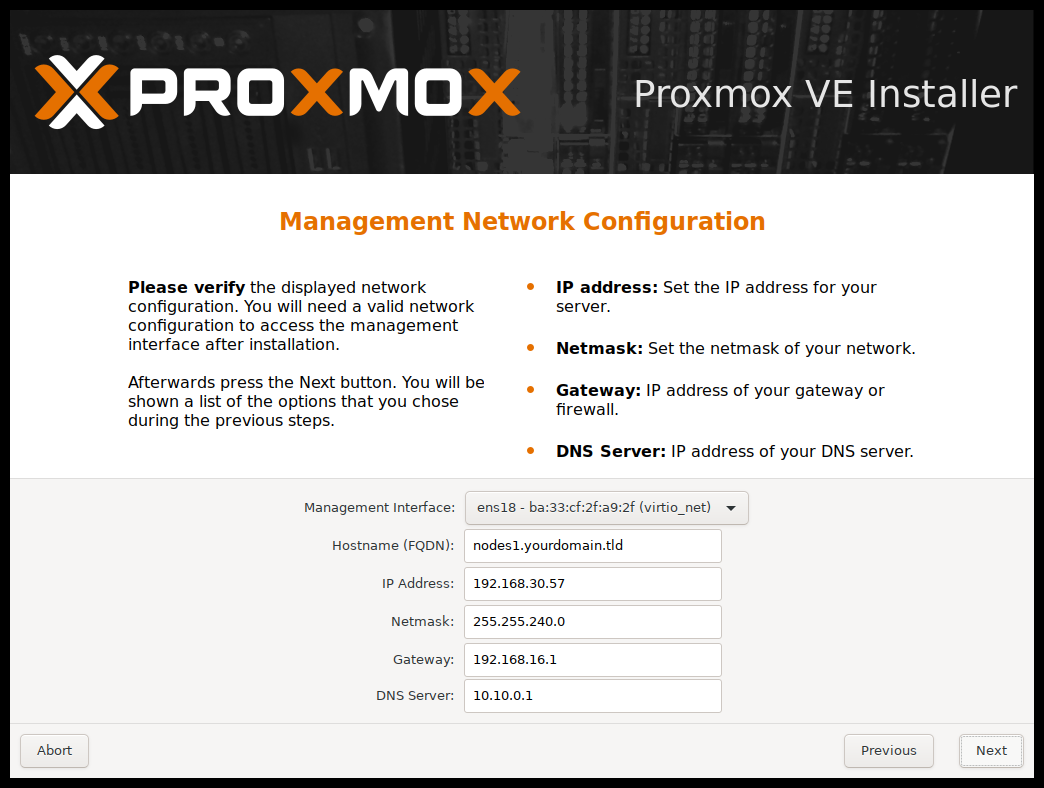
6. Select the interface for networking, host name, available IP, gateway and DNS server
7. Confirm everything and press Install